Internal Developer Server or Workstation for Windows Server 2003
YOU NEED A 600 GIGABYTE VIRTUAL MACHINE TO COMPLETE THIS TUTORIAL
- Install the latest edition of Virtual Box
- Instal Windows XP or Server 2003 (32-bit) and during installation create 2 partitons.
- Allocate 2048MB of Base Memory
- Enable I/0 APIC
- On Windows 10 only from a CMD Prompt enter 'bcdedit /set hypervisorlaunchtype off' and reboot
The Vitrual Machine or XP/2003 Installation includes:
- Services for UNIX 3.5
- Partition Magic 7.0
- Visual C ++ 4.0 (Visual C++ 2.0 mode), Visual C++ 6.0 with Service Packs, Visual Studio 2003 Acedemic w/ Student tools, Visual Studio 2005 Professional, Visual Studio 2008 Team Suite and Visual Studio 2010 Ultimate with Service Packs.
- Windows XP Debugging Tools
- Sysinternals Suite 1.0
- Windows XP Symbols from the Customer Tools Diagnostic Disc
- Windows 2003 DDK, 2000 Platform SDK RC1, 2003 Platform SDK, Longhorn PDC 2003 LDK and SDK.
- Windows CE 6.0 with Platform Builder (Shared Source Edition)
- Windows Embedded XP/2009
- Microsoft Windows PowerShell 1.0 for Windows XP.
- GetGNUWin32 Legacy Installation from Sourceforge(needed to build MINGW 1.0)
- Active State Perl (for 2005 Enterprise Contract please call)
- Windows XP UX Guidelines
- IconFX
- GIF Movie Gear
- MSDN Image Libraries
- NuAngel XP/2003 Updates to 2019
Microsoft Acedemic Program
Development of Windows XP
The Official Build Number of the XP/2003 source is 5.1.2600.6000 is revision 6000 the same as the XP Embedded RTM.
If you need to use 'expand /r' to X:\ENGLISH\WIN2003\ENT\I386\* D:\binaries.x86fre from a retail DVD.
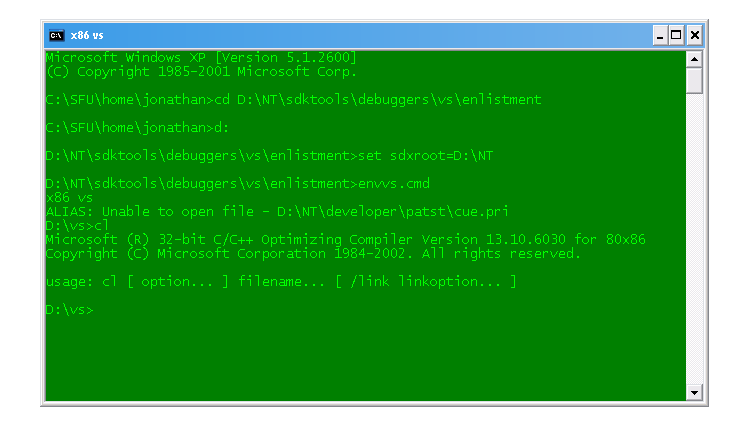
- Start in the NT\sdktools\vs\enlistment directory. Read the envvs.cmd file and make a Visual Studio Drop. From the SDXROOT\public directory. And Visual Studio 2002 or 2003 VC7
- Start in the debuggers directory after you leave the enlistment directory and set up source depot using the templates.
set sdxroot=D:\NT
run envvs.cmd The default background is green.
You might want to buy this C++ Book below or Project Euler and you also might want a Detiel How to Program Textbook in C++ for GNU cross platform porting to Win32 make a private directory for NT projects. NT Projects. Or Begin writing acedemic papers and join the IEEE or ACM I was ACM Vice President at my college.
Put you Detial Examples, XP Samples and your DDK & SDK Samples in private and begin here is a Guess Number Exmaple
this is the Acedemic environment I used in college or university. I filed for barrowers defense because it was a better environment the judge sided in our favor in a landmark descison I'm debt free.
#include<math.h> #include<stdio.h> #include<stdlib.h> #include<time.h> // Function that generate a number in // the range [1, N] and checks if the // generated number is the same as the // guessed number or not void guess(int N) { int number, guess, numberofguess = 0; //Seed random number generator srand(time(NULL)); // Generate a random number number = rand() % N; printf("Guess a number between" " 1 and %d\n", N); // Using a do-while loop that will // work until user guesses // the correct number do { if (numberofguess > 9) { printf("\nYou Loose!\n"); break; } // Input by user scanf("%d", &guess); // When user guesses lower // than actual number if (guess > number) { printf("Lower number " "please!\n"); numberofguess++; } // When user guesses higher // than actual number else if (number > guess) { printf("Higher number" " please!\n"); numberofguess++; } // Printing number of times // user has taken to guess // the number else printf("You guessed the" " number in %d " "attempts!\n", numberofguess); } while (guess != number); } // Driver Code int main() { int N = 100; // Function call guess(N); return 0; }
Build or find xcopy and findstr from the RTM DVD and place on path
Setting the Path:
path %path%;D:\NT\tools\perl\bin;D:\binaries.x86fre;D:\NT\tools\sp;D:\NT\tools\x86
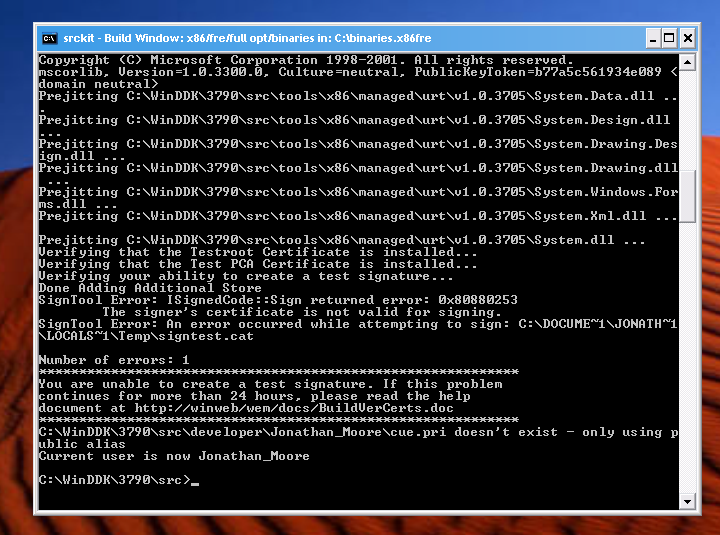
Set the Signing Certificate
run buildnum.exe in sdktools you may have to build it, to get the machine name and build numer of the operating system.
certmgr -add D:\NT\tools\testpca.cer -r localMachine -s ca
cd D:\NT
Begin building 'Diff' in SDK tools, 'SDKdiff' and 'Windiff' to merge DDK and SDK include and lib directories.
tools\checktestroot.cmd and tools\checktestpca.cmd
2. Setting Razzle
tools\razzle free offline or tools\razzle win64 amd64 free offline

or for checked

tools\razzle offline or tools\razzle win64 amd64 offline
Rename 'projects.map' in the tools directory to 'sd.map' and place in the root of the NT directory.
enlist projects ex: sdx enlist NT master com -c tools\ntnewver.cmd
\\PATSTYLESVS.main.x86.fre
\\%COMPUTERNAME%.main.x86.fre in BuildMachine.txt
We look in BuildMachines.txt for the machine name, branch, architecture,and build type. If we find a match, then we set OFFICIAL_BUILD_MACHINE to the appropriate value ("primary" or "secondary") look for the the offical build machine client in sdktools->debuggers->vs->enlistment->sd.ini.txt.
tools\verifybuildmachine.cmd
perl xcopy2binplace.pl
You can compile the Lab 01 down to about 8 errors the rest of the Labs and Operating System shouldn't have any errors. You should have the research kernel to muck around with also from college, needing to comment out the Longhorn additions in revision 6000, files beginning with 'dp' are Longhorn files. The 'dp' files are not in the 'Longhorn' beta LDK they maybe in a IDW or internal developer workstation release if I can find one. Maybe look in Embedded 2009 for supported hardware and maybe learning what PCI hardware and coding the plug n' play to support in the NT Kernel. The PCI codes you can use now a days in 2024 is Linux and you might want to remove some of the cheap hardware.
Lab01
: KernelCopy the base\ntos directory and all of it's files to Lab01 it might be a virtual lab in source depot and it is a physical lab.
CD to base\busdrv\isapnp and use the message compiler to generate 'message.h'
Make pcicodes.h using the message compiler too. This file goes in base\busdrv\pci
build -cz
delobj.cmd to clean the source tree
Lab02
: NetworkingCopy the NT\net directory to Lab02. The Network Stack or Lab will build without error in the Vitrual Lab.
You might have issues in the Pysical Lab
build -cz
delobj.cmd to clean the source tree
Lab03
: Server[c]Copy the Entire Server folder from nt5src.7z to Lab03
The entire Server build should build with about 20 shipping errors and take about 6 hrs for a free build and 12 hrs for a checked.
build -cz
delobj.cmd to clean the source tree
Lab04
: Terminal ServicesCopy NT\termsrv directory to Lab04. The Terminal Services Stack should build without error in the Virtual Lab. You might have issues in the Physical Lab.
build -cz
delobj.cmd to clean the source tree
Lab05
: Shared Source Common Language infustructureHowever the Beta Wiki doesn't list a Lab 05 I believe it's either the SSCLI or the COM Stack. With the .NET Framework.
To build the SSCLI you need Visual Studio 2005 Professional or higher in a 2000 or 2003 Virtual Machine. And Active State
	Perl ActivePerl-5.16.3.1603-MSWin32-x86-296746.msi or ActivePerl-5.16.3.1603-MSWin32-x64-296746.msi for 64-Bit
extract the sscli20_20060311.tgz for 2.0 or 1.0 sscli_20021101.tgz sscli_ref_20021101.tgz and and Gyro Genetrics with 1.0
	and execute env.bat at the root of the directory. To set the free or checked environment then execute buildall.cmd.
To build the COM stack run build -cz in the root of the COM directory or lab.
Lab06
: User interfaceCopy NT\shell directory to Lab06. The UI Stack should build without error in the Virtual Lab. You might have issues in the Physical Lab. With the GNUmakfile
build -cz
delobj.cmd to clean the source tree
Lab07
: Internet Information Services/COM+Copy NT\inetsrv directory to Lab07. The IIS Stack should build without error in the Virtual Lab. You might have issues in the Physical Lab.
build -cz
delobj.cmd to clean the source tree
build individual projects
in the directory of a makefile with build -cz
or
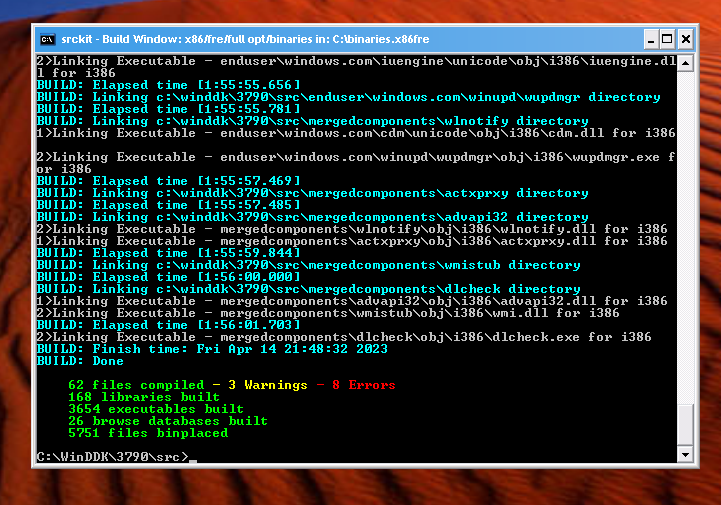
build the whole operating system
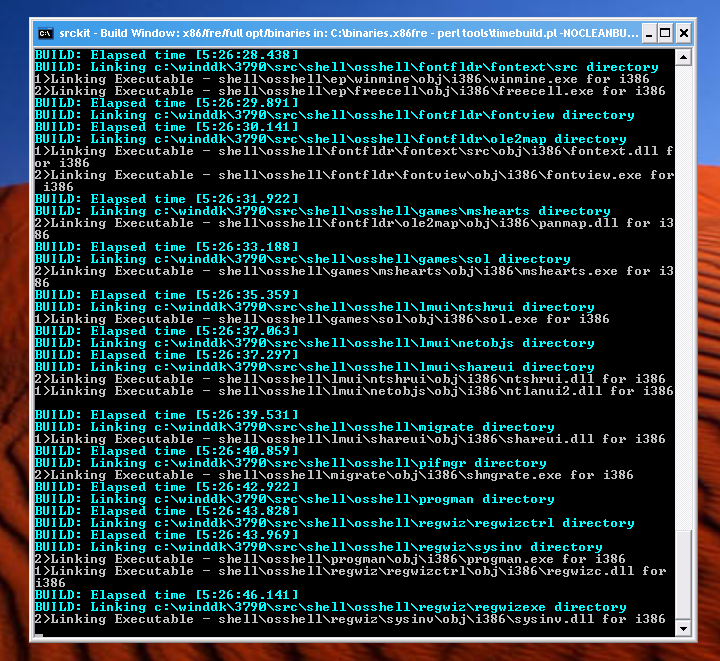
perl tools\timebuild.pl -NOCLEANBUILD -NOSYNC -NOSCORCHIf you want to wait 6 to 12 hours for a new clean build you'll type this:
perl tools\timebuild.pl -!NOCLEANBUILD -NOSYNC -NOSCORCH -NOPOSTBUILD
build -cz
make a 'symbol' share with symbol and build subdirectories.
symsrv.cmd
POSTBUILD:
We only create boot floppy images on fre compressed i386 builds.
tools\postbuildscripts\sanitycheckunicodefiles.cmd
Generate the winnt32.msi for different SKUs
tools\postbuildscripts\winnt32msi.cmd
tools\postbuildscripts\makebuildname.cmd
tools\postbuildscripts\cdimage.cmd -d Release
move delobj.cmd the the tools directory to the NT Root and clean the source tree by deleting all the object files. After the build
Close Razzle Window run the VC7 vcvars32.bat from the VCBuilt share and set _NTTREE environment variable. Which is the binaries directory.
path %path%;D:\binaries.x86fre\bldtools
Copy the 'copyddkfiles.cmd' the the NT\base\ddk directory for the tools directory run:
copyddkfiles.cmd ddk_base.ini ddk D:\NT\base
It should begin to copy the ddk files you will need to edit the ddk, hal, IFS INI files to fit your kit needs.
You might want to learn how to make a service pack.
cd to D:\NT\tools\postbuildscripts\svcpack\ and open spcab.cmd and set the FILELIST CABNAME and EVENTNAME using the gold directory
text files as a FILENAME
After the build run the post build batch file in the tools directory and read the error log you shouldn't get any errors in Windows XP/2003 Professional Edition.
certmgr.msc, go to Trusted Root Certification Authorities\Certificates and remove the Microsoft Test Root Authority certificate,
Sign out and Sign in again. The 'For Testing Purposes' Watermark should now be removed.
It takes 6 hours to build a Free Build and 12 hrs a Checked.
Themes
To test the defualt Visual Styles build and execute UXBUD.EXE in the shell->themes directory
Build packthem, cd to the themedir and build 'mallard' read the Powerpoints use Office XP, And Adobe CS2.
Here's is a Mallard Screenshot
After the build the Active Directory Migration Tools and Debugging Tools should be built. After the post build very edition and every supported language should be built. In the binaries directory the usa default build should be revision 6000 leading up to Windows Embedded 2009. After the Windows 6000 revision source build you might want to use the SLD files in the 'mantis' folder with XP embedded and make a Embedded Windows repository and engineer 2003 revision 6000 which was released in Embedded 2009. You can compile the Operating System down to about 16 errors needing to remove the Longhorn additions in revision 6000 maybe look in Embedded 2009 for supported hardware and maybe learning what PCI hardware and coding the plug n' play to support in the NT Kernel. The PCI codes you can use now a days in 2024 is Linux and you might want to remove some of the cheap hardware.
Building a Windows XP Embedded Runtime Image
To build MSMQ in NT->inetserv->MSMQ install Visual C++ 6.0 with MSDN Library put the Build Utlity from NT->tools->x86 in the exacutables PATH in the Options tab in Visual C++ 6.0 and set NTMAKEENV in the Control Panel to the 2003 DDK Bin. The Workspace is a Visual C++ 6.0 workspace. From the CMD Prompt run 'scortch.cmd' to set %FROOT%. Please make sure the SDXROOT is set. This Workspace has more environment varables to set and Microsoft used MINGW in the building of XP not PTC. Download GetGNUWin32-Legacy-Install from Sourceforge.
here to build MINGW 1.0 for source.
The Boot Process for XP/2003 is:
Use Bootsect to write MBR and boot sector.
bootsect /nt52. e:
NTLDR, Ntdetect.com, Ntbootdd.sys, Ntoskrnl.exe, hal.dll, smss.exe, winlogon.exe, Service Contol Manager SCM
In a free build the kernel may not build you may have to to use the Windows Research Kernel. Microsoft does not give you the source to WinLogon even in the SSLIP. It's named Winlogon.exe.lc
A build lab (or simply a lab) commonly refers to a Microsoft Windows source code branch. By extension, it can also refer to the team that works on this branch.
Microsoft has used multiple prefixes to refer to feature branches over time:
Setting up a Public Symbol Server
You can use the Symchk tool to check to see if the Symbol file is public or private.
To get WMI support, you need at least the XP SP2 OPK CD. It has updated tools to build the source for WinPE. If you have this OPK CD, just add /WMI to the MKIMG command.
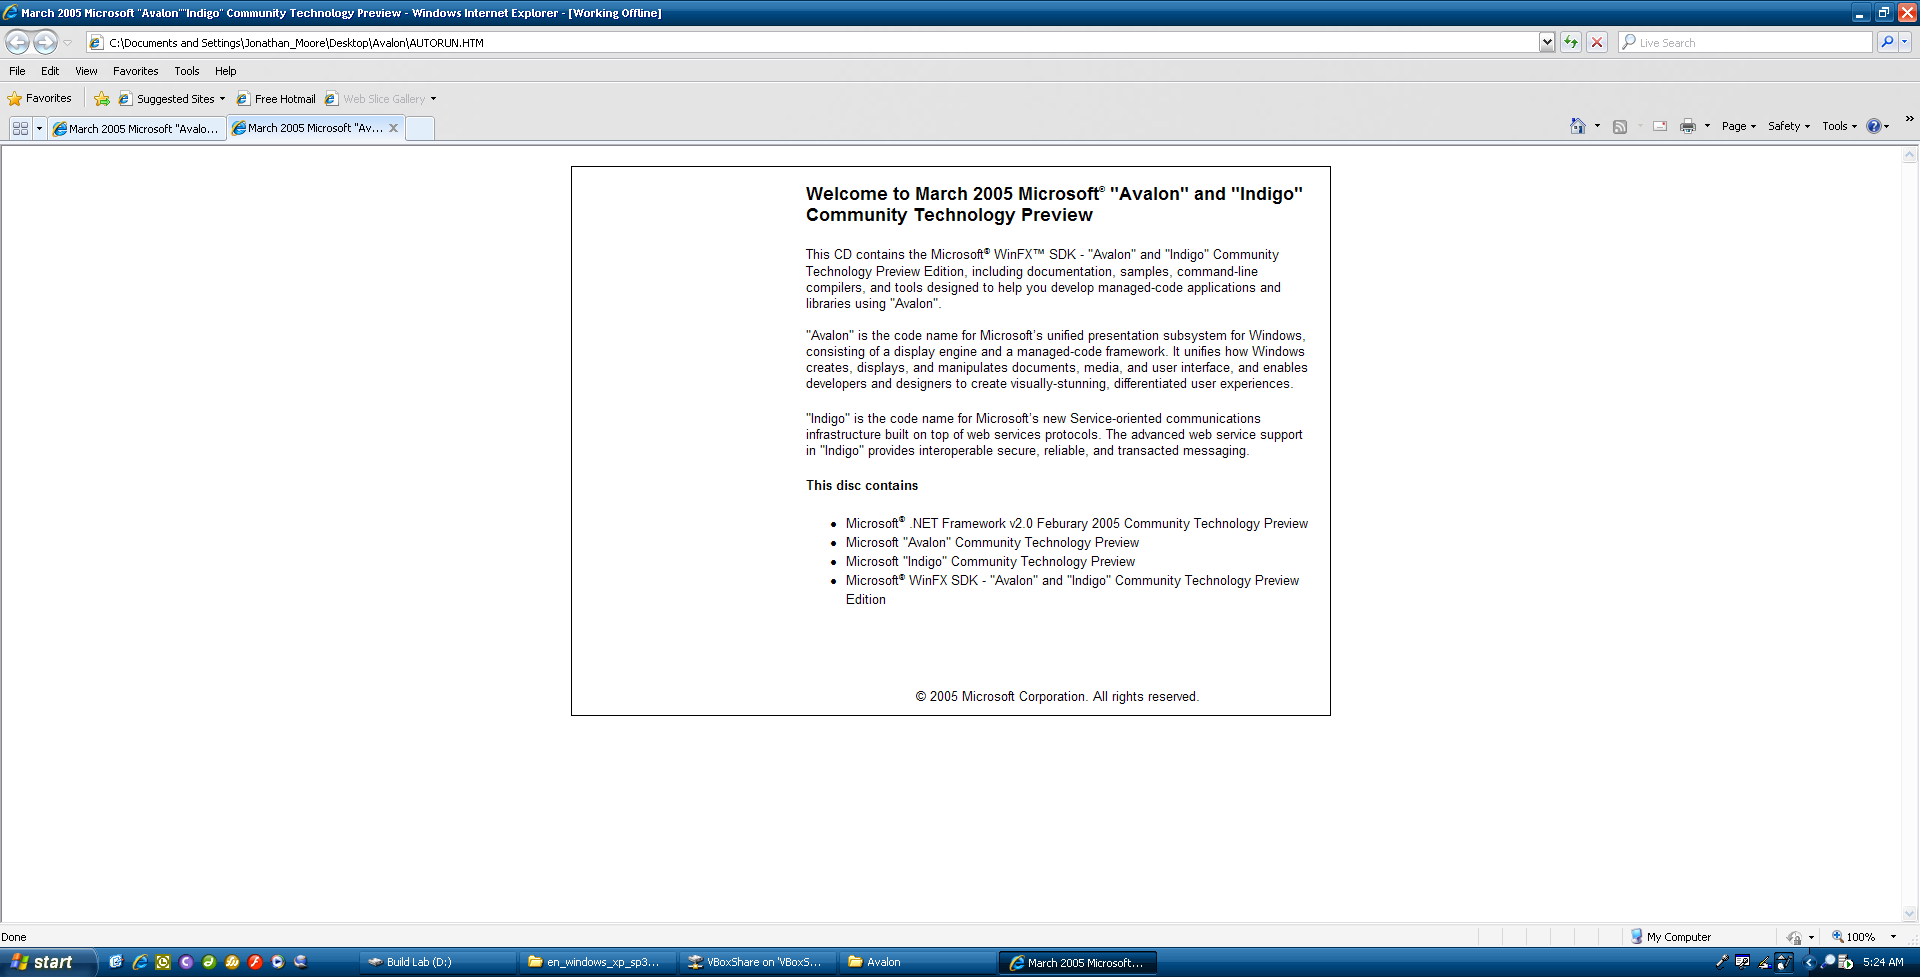
To start migrating to Longhorn you need the 'Avalon' and 'Indigo' Tech Preview